eBoy
Ian Wright's portrait of Jimi Hendrix using hama beads or Mao using badges. Interview here
Pointilism is nearly the same thing but the dots don't have to be in grid fashion.
The brief says "create a series of illustrations that explores your relationship to digital technologies." I am fairly ambivalent, I see great ideas, and lazy, poorly thought out ones. The challenge is to represent this in some way. I guess that I'm also slightly overawed by the power of technology and that's quite a good place to start.
| Pastel on black paper |
| Pastel on blue paper |
| The small version above was watercolour ink dribbled onto wet paper and swirled with gravity. The one on the right was the same technique with Kandi paper and a lot more water. |
Which I scanned and pixellated.
I can control the size of pixel so I tried several variations, these are the best though I think that the top two are more successful. The bottom ones are too thin so the pixellation process didn't have enough colour to work with.
On my original sketchbook experiments I had drawn a computer so I made the pixellated images the screen and added a figure.
I've deliberately made these low resolution to get a pixellated effect but I think that they just look like they have been blown up too big.
Having used technology to create pixels I made my own. The idea is a technology user travelling along, slightly out of control with pitfalls all around, its ok if everything is working...

I bought graph paper for this which is 1-difficult to find and 2-rather bolder than I wanted but it gave me the chance to vary the size of my squares. I coloured it in without much planning.


Better if I cut out the sky, I tried the same image on bigger squared paper.

It looses a lot of subtlety and doesn't quite make sense. I experimented with different figures using the larger squares, maybe more abstract is better?

And then, because drawing squares is boring I used lego to make the pixels.


I haven't got enough lego to make this work as well as it could, Nathan Sawaya does it better though for 2D images he copies famous paintings or photos.
So I tried developing the square figure. I'm not very Photoshop literate so I wasn't sure how to make an image on a grid. For this I made the grid visible on the screen and used the square tool to make the shapes. They would have been a lot clearer with a black line around them but I didn't feel that quite fulfilled the brief.

It's very simple but I think that it may have lost its meaning in the development. I wanted to keep the colours simple too but had some difficulties getting the eyes of the figure to stand out against the sky. I didn't save all my variations so I can't bore you with them.
One of the other variations in my original thumbnails was a tangle of cables which could also be a maze with the figure trapped in the middle.

I went back to my scanned squared paper which is regular but has rather feint lines.

While trying to make the lines clearer I found the liquify button which is no good for this exercise but is a fantastic effect.

I put the little figure in the middle of the squared paper and made a maze around it by rubbing out the lines.

To get the lines to show up I applied a number of different filters which gave this nice multicoloured effect but has lost some of the pixellated feel of the exercise.

I managed to get this version by using the trace contour filter but I must have done something before because I couldn't repeat it to make a smaller maze.

This time I managed to get the lines thicker so I filled in the squares to make the figure and created a maze around them. The earlier version had one solution, this one is just random but is probably more representative of the feeling of the figure trapped in a maze of technology. Again if you hadn't followed my character development the figure just wouldn't make any sense but I do quite like the maze.


It's an interesting effect. I repeated it by tracing over the original drawing.

Even with thicker lines it's hard to see so I added colour.

It's come out a bit fuzzy because I've got the resolution too small. I'm still learning with Photoshop, there are so many things to get wrong!
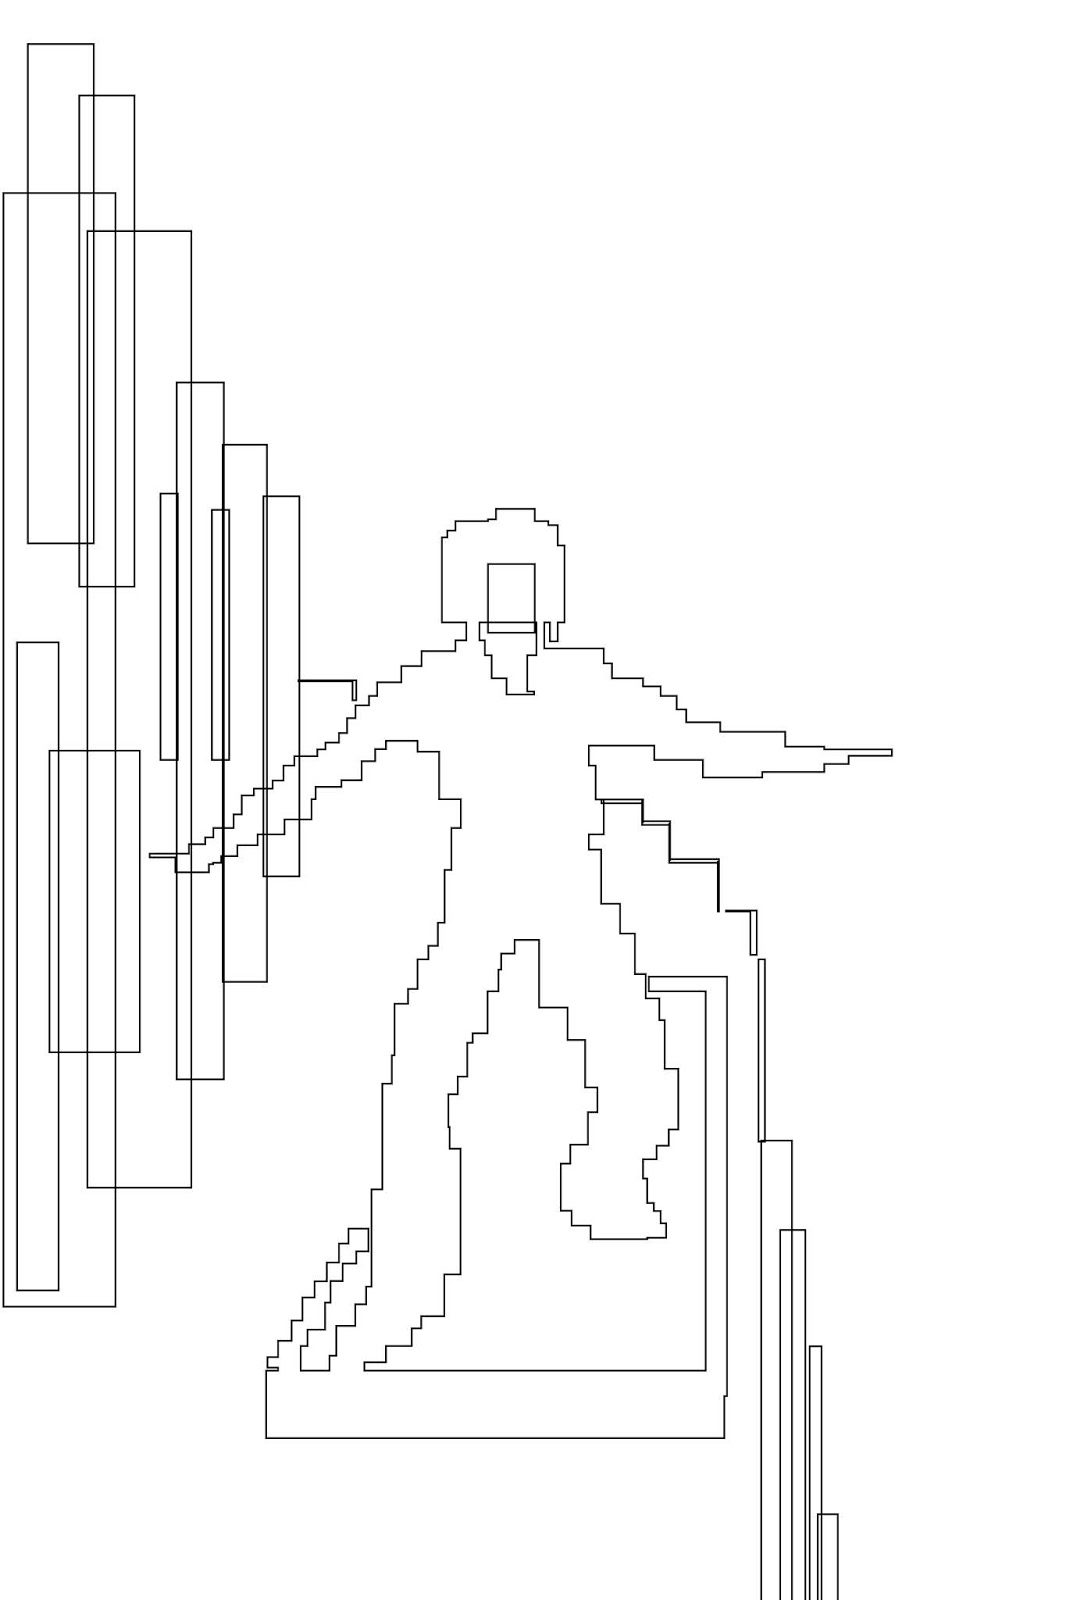
I repeated my freehand square figure with a thicker line.

I like the way that the lines overlap to give depth but because of the way I drew it when I flattened the layers I just got the outside lines which wasn't what I planned but I'm channelling the watercolour mantra of happy accidents.

With a mountain road added.
and then coloured

I think that this is the strongest image.


and to be complete I went back and sorted out the fuzzy first image.

Which I pixellated with size 5 pixels,
and size 20
To me it seems to stop making sense with this much pixellation, I prefer the first version where the pixels are just on the screen.
Reflection
It's hard to make a computer generated piece that has energy and spontaneity. The technique for generating an image encourages tight work and the computers capability to endlessly polish and tweak is difficult to resist. Photoshop is so powerful and has so many little things that it can do it's easy to get lost in the program.
No comments:
Post a Comment